

Vex’ahlia Build Log
By Dewfeathers Cosplay


Started by making a mockup of the dress by splicing together the bodice and skirt from the McCall’s Elsa dresss and the McCalls Yaya Han breast cups.
Goal was to create a bodice that I would be able to add the gold trim to, and make an a-line skirt with a thigh high slit.


Cut dress pattern out of a double sided knit fabric I got for free on Facebook Marketplace. I managed to fit the entire dress on the 36in x 60in length of fabric. One side was the sapphire blue used for the skirt and detached sleeves, and the other was navy blue and used for the bodice.

Lining for boddice made from a soft scrap fabric active-wear knit fabric I found in my stash. because it won’t be seen, I was not worried about color, but the feel of it was important to me.


Drafted detached sleeve pattern by measuring my wrist and my arm just above my elbow. I cut it to exact measurements, rather than accounting for seam allowance, to let the stretch of the fabric contour to my arm shape.

To make the bodice cups trim I taped the outline of the cups with painters tape. Traced tape on to kraft paper to make a pattern and free-hand sketched the double swoop detail.
I Folded Yaya Han gold stretch vinyl in half and drew on pattern. I cut both halves out at once so they would be symmetrical.


For gold vinyl at the waist, I sketched a 1.5 in wide pattern extending from the the bottom edge of the bodice.
For the back top edge of the bodice, I taped out the shape with painters tape similar to how I did the cups.
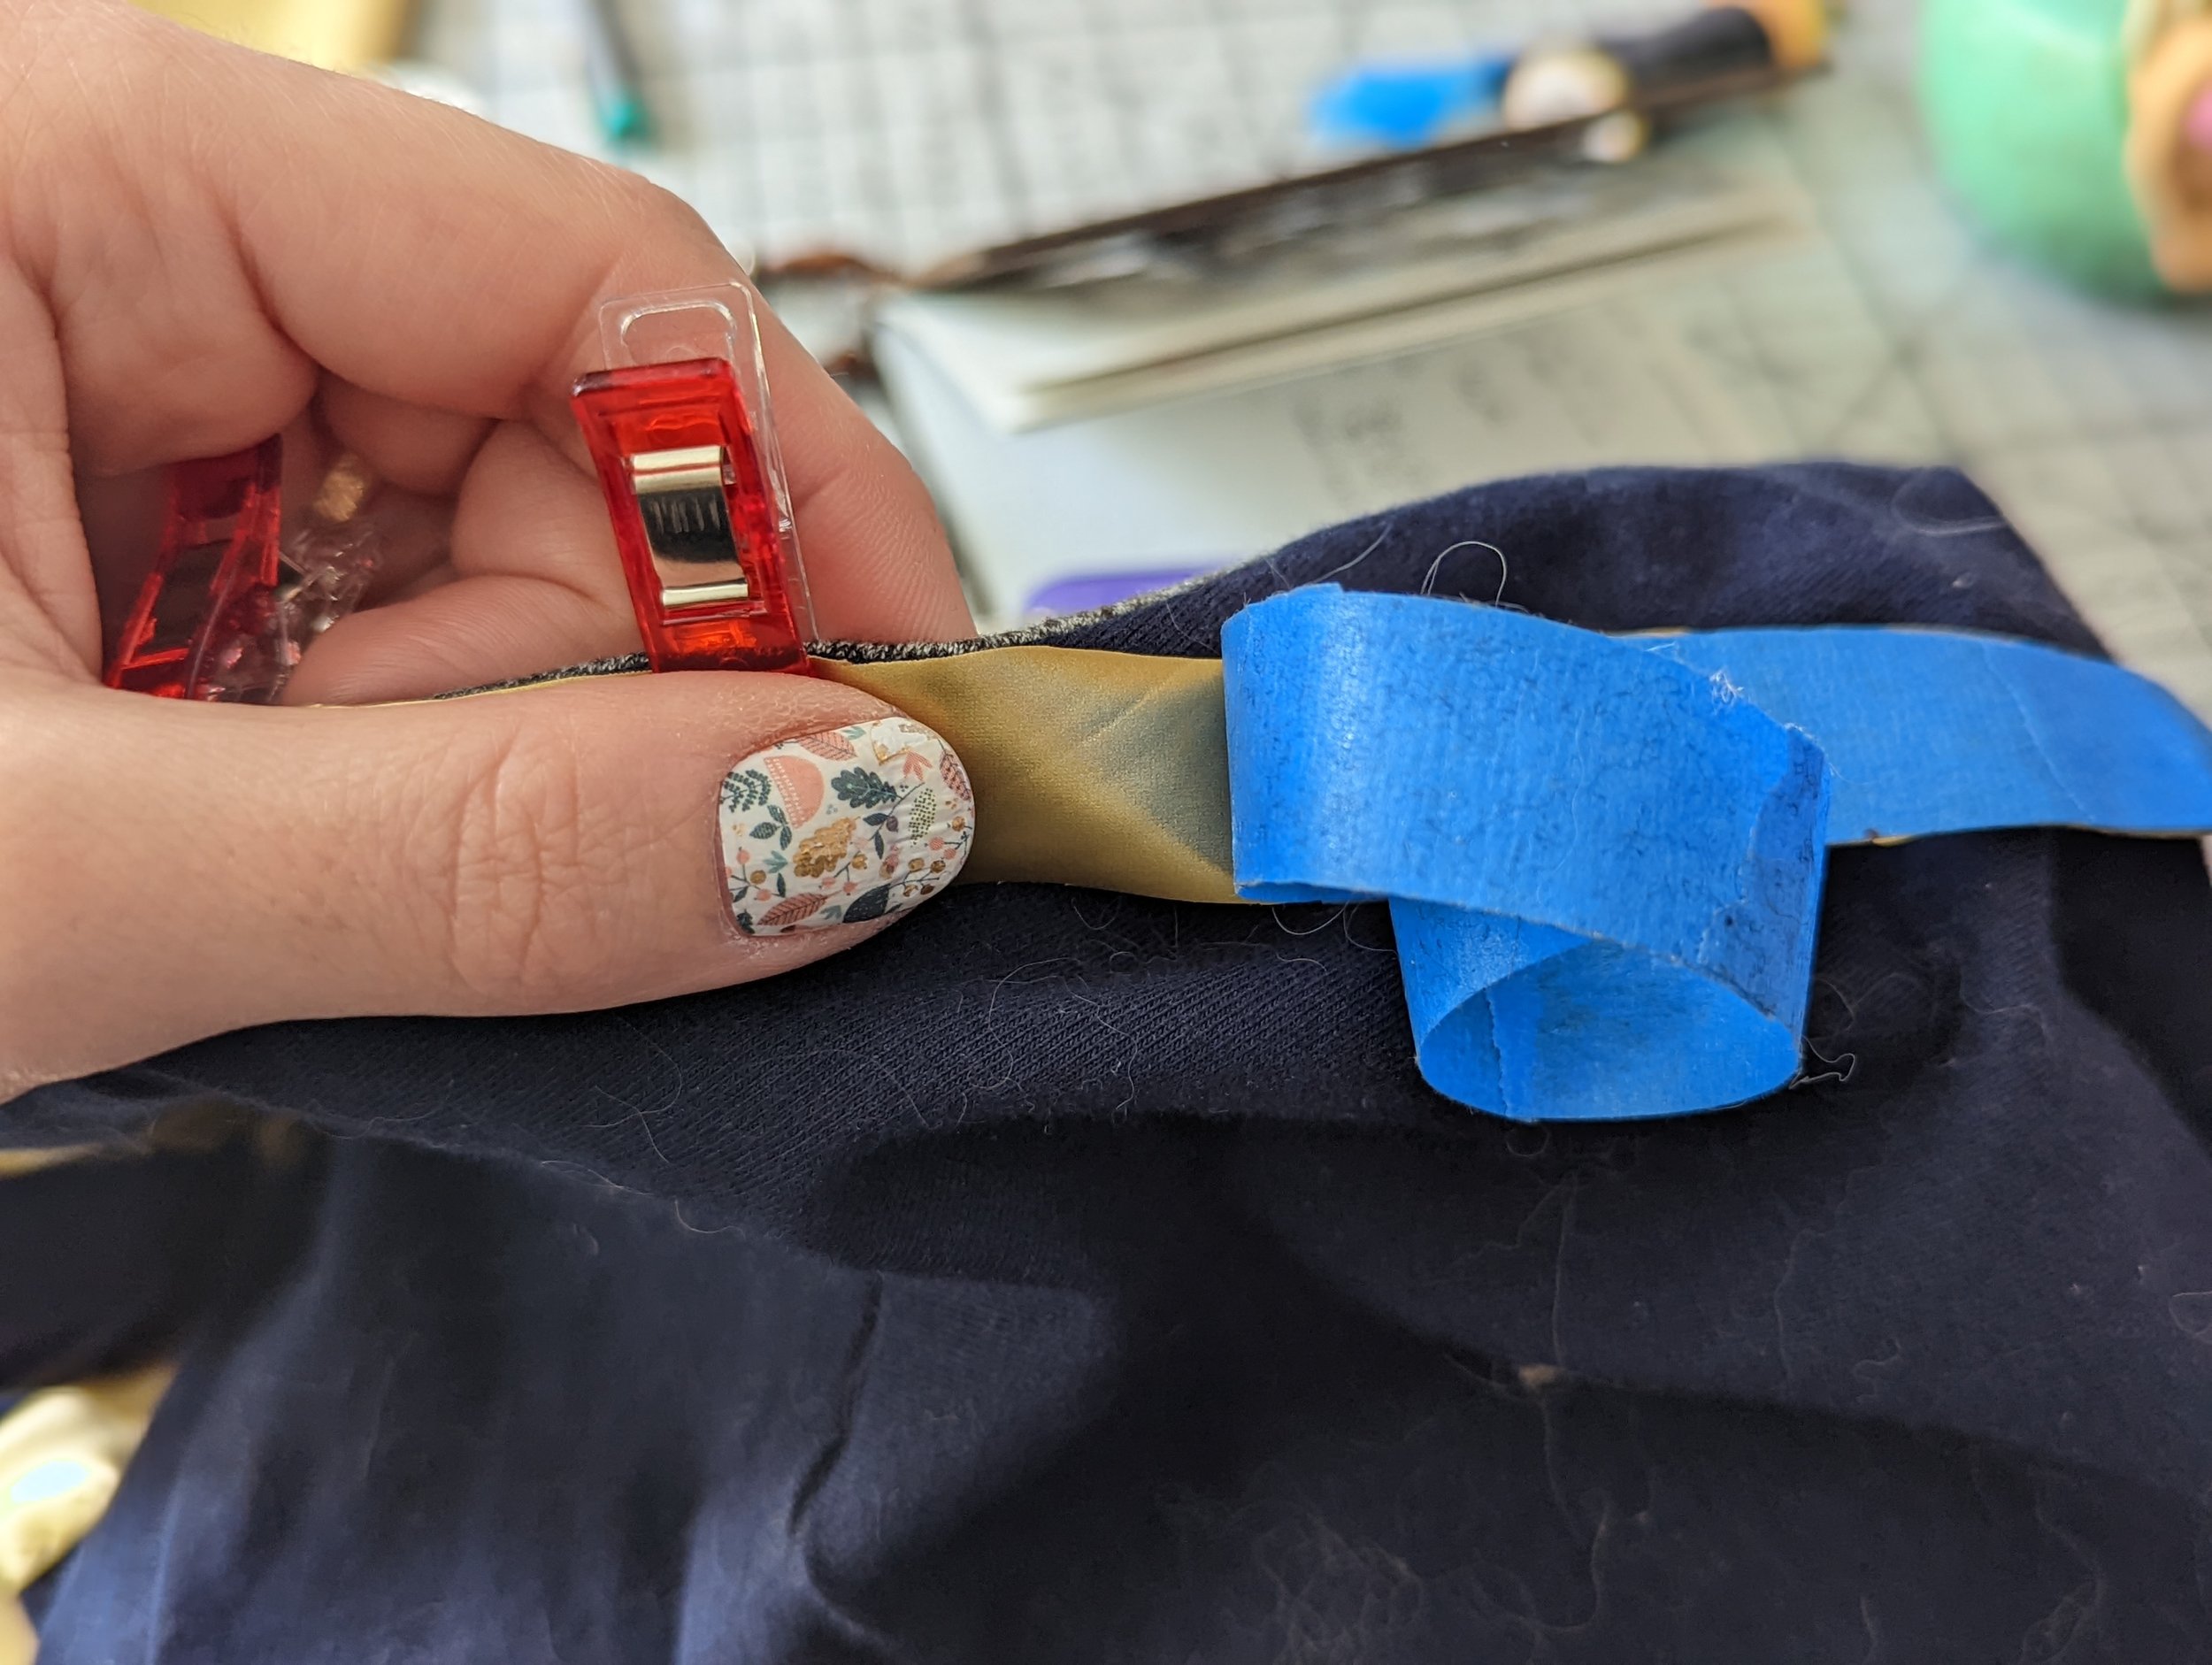
For the waist vinyl I added a quarter inch seam allowance using a fabric clip as my guide.


For the back top edge of the bodice I cut out the vinyl with the tape attached and did not remove the tape until I had clipped it to the fabric to make sure I placed it correctly.
I hand basted all of the bodice vinyl into place. This was my first time doing applique, stitching a stretch vinyl to a stretch knit fabric.


Gave bodice vinyl more texture by adding a decorative stitch in gold thread
I made trim for the detached sleeves and dress hem using decorative stitch in gold thread on the gold vinyl.


Top stitched hem and waist band to help keep the shape I wanted (flat)
Added Center button to the gold trim on the bodice and hand beaded the top edge of the bodice.
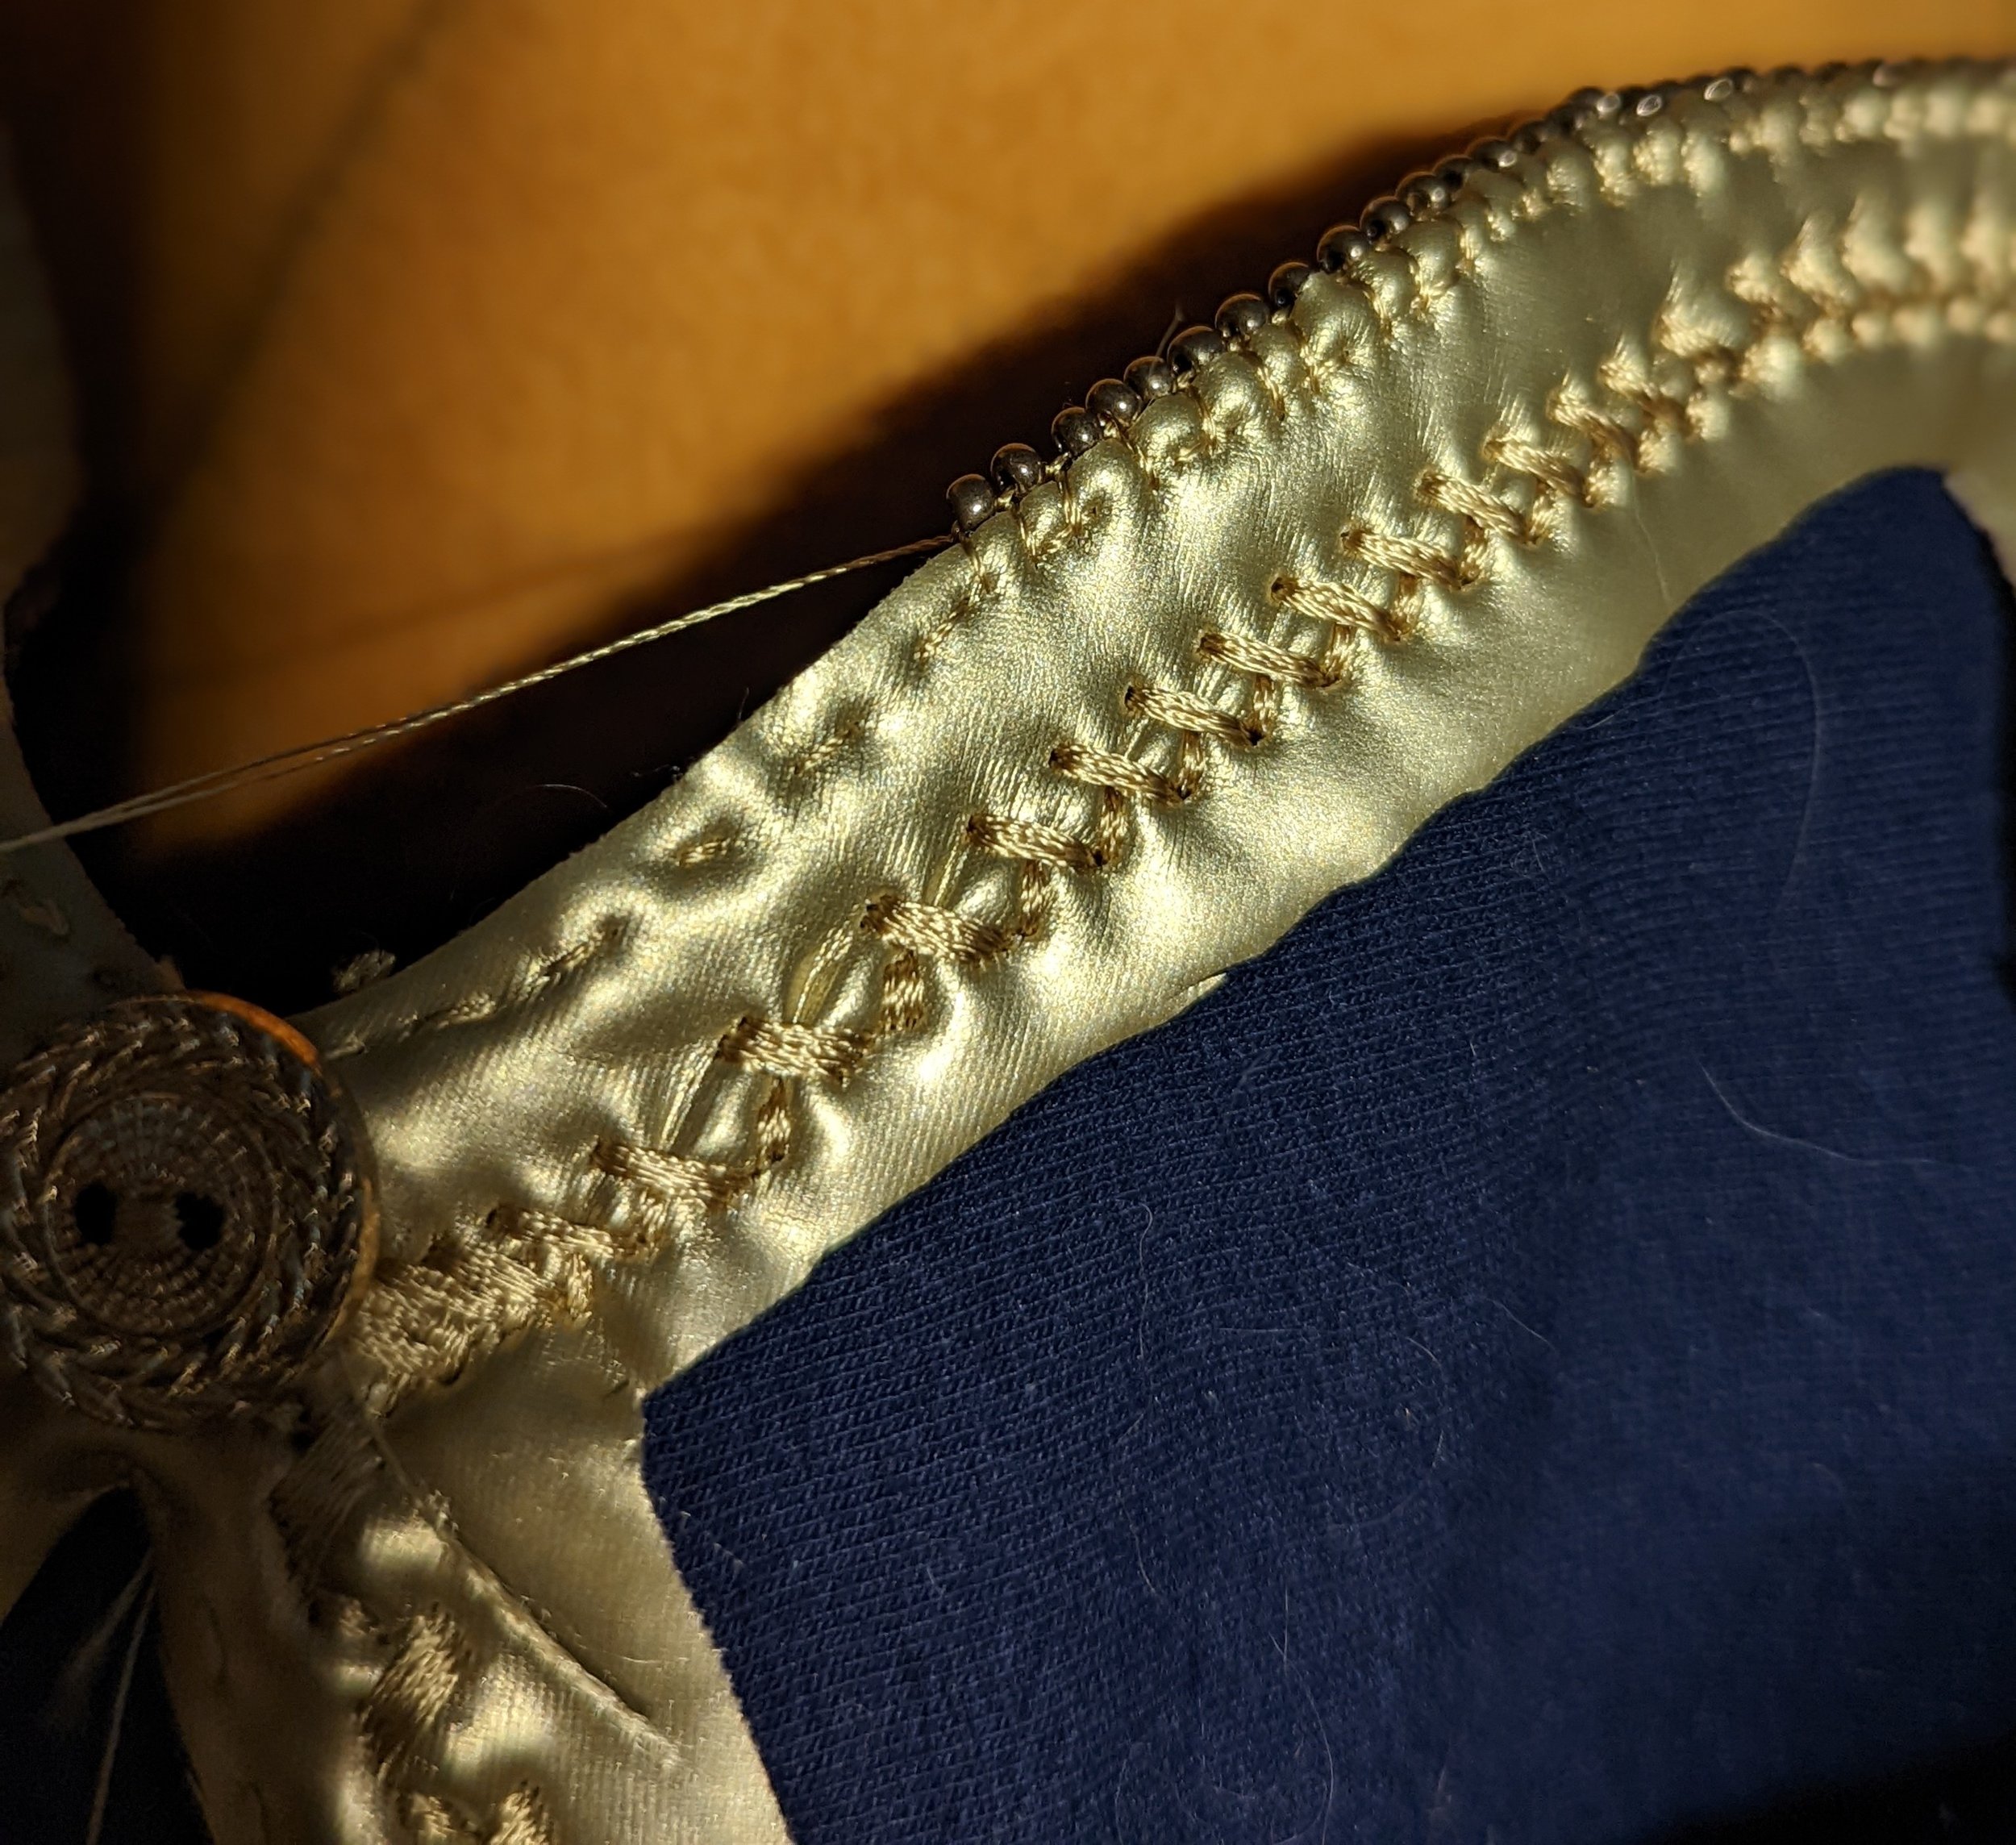

Reinforced top edge of bodice with wire

Made pendant out of worbla black art, painted gold and blue.
Original art did not have a gemstone in the middle, but I really liked the idea of adding one, so I carved it into the worbla and painted it like a cut sapphire.

Strung pendant onto fishing line and added gold beads to each side. Fishing line and beads were second hand.


Tied off necklace using fisherman knots (how you tie a fishing hook onto the line)

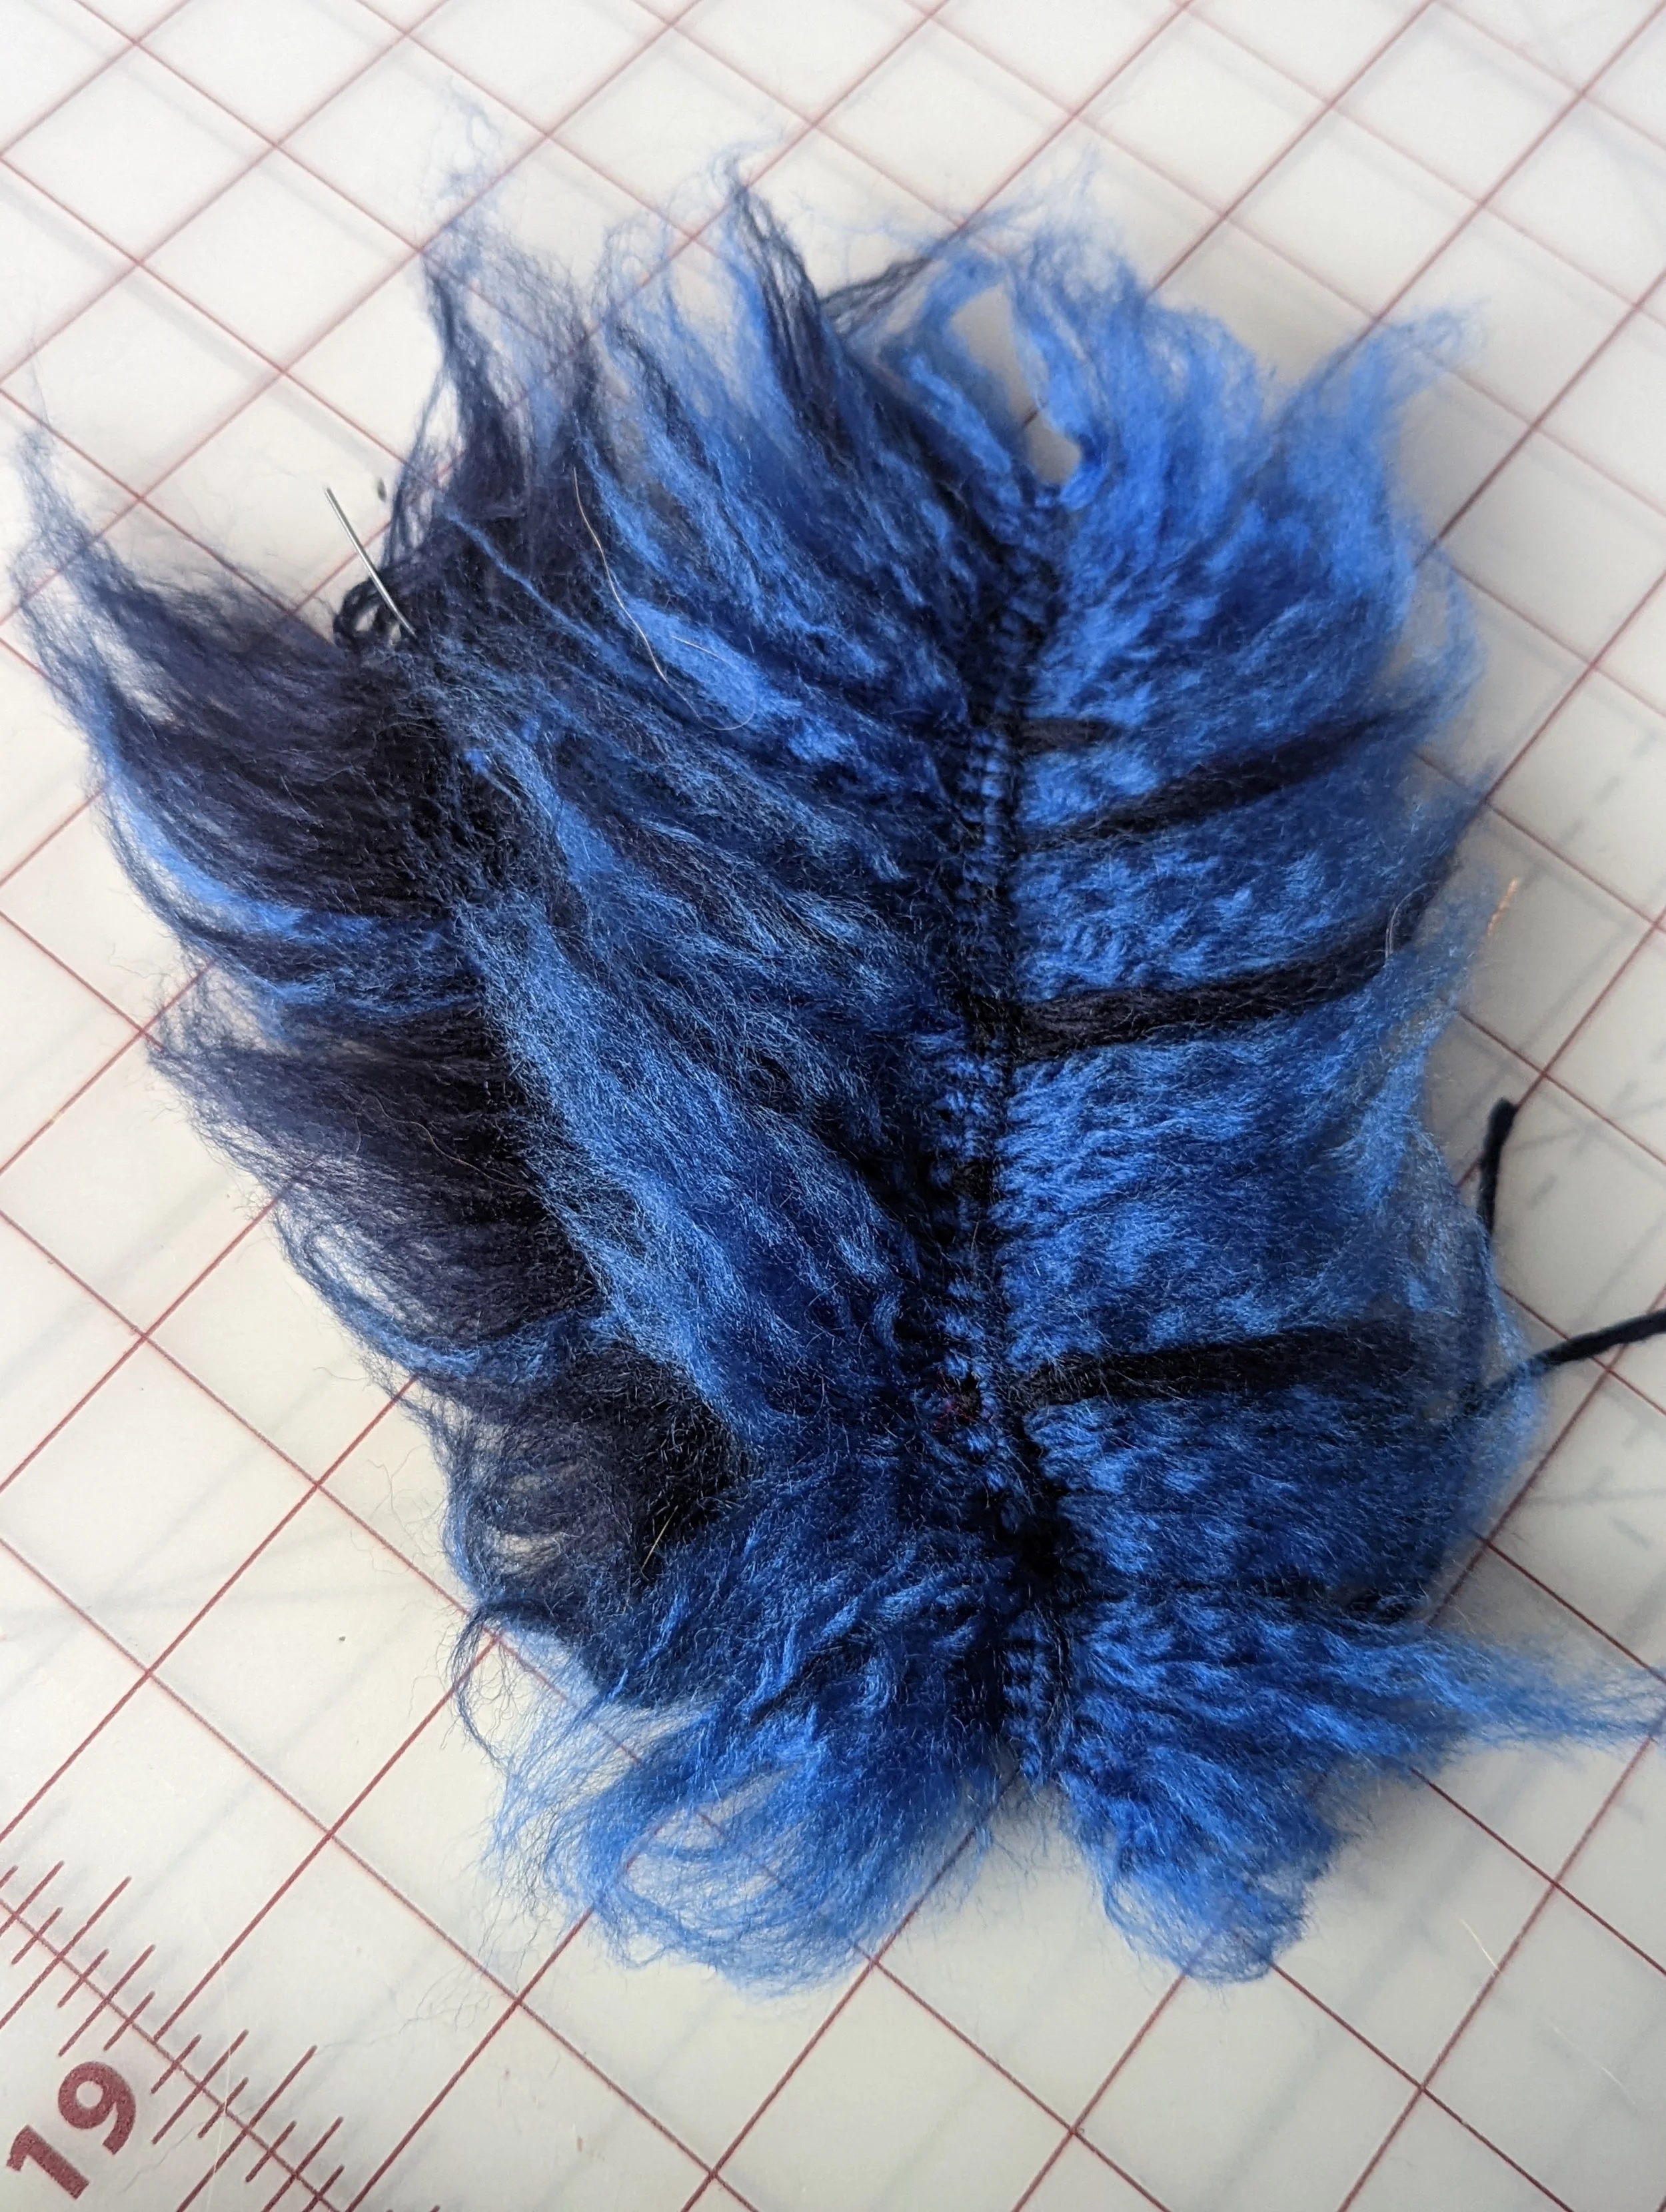
I used a macrame leaf making technique to make the base for the hair feathers.
I brushed out the yarn and gave some initial shape to the feathers.

I slipped the feathers onto a wire structure, and gave the backs of them a coat of spray glue to hold them together. Then I cut the feathers to shape.

Made patchwork purse from remnants from the cosplay.

divided pattern into sections and drew them onto the remaining pieces.

Sewing together pieces and pressed the seams flat.

Added same gold decorative stitching to the patchwork edges.

Lined in grey knit fabric from my stash.

Folded the origami purse into shape and hand stitched edges together.

used extra trim for straps. First folded in open edges to make a nicer hem.
used hard wear from my stash to create purse straps and a closure for the purse.
Yay storage for cosplay!
